Image Annotations: The Best Tool to Visualize Feedback
Annotating images is a fantastic way to drill down into the details of your photography and give your fellow collaborators more context. Let’s take a look at Picflow's annotation tool and how to use it.
)
What are Image Annotations?
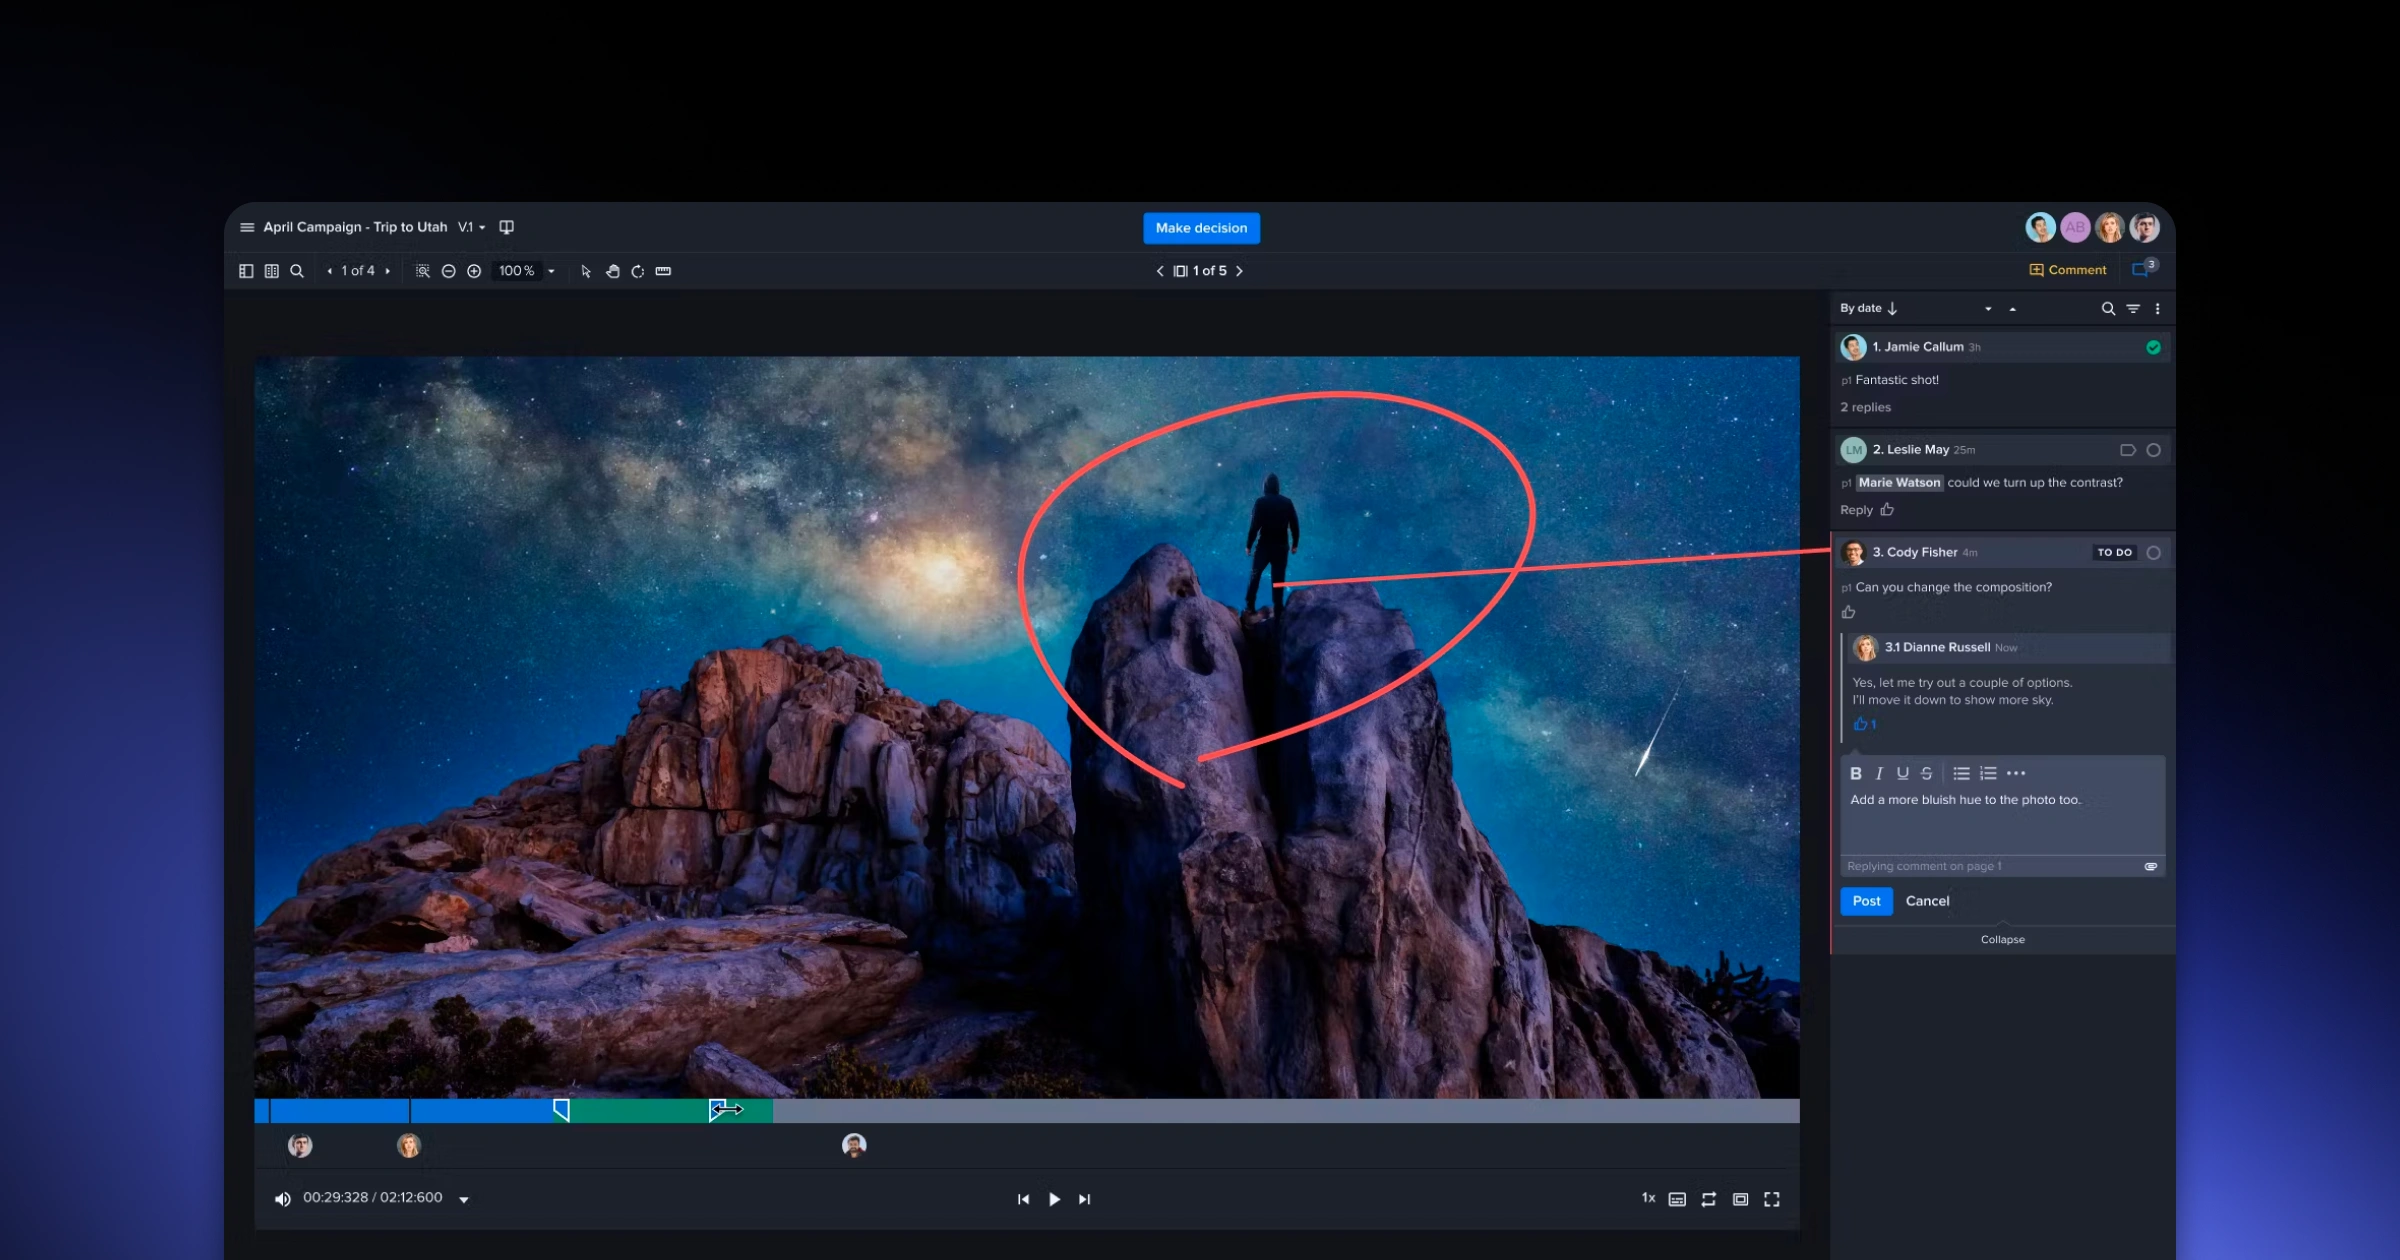
Annotations are markups that are overlaid onto an image, usually using arrows, lines, circles, or other shapes to draw attention to specific features. They serve as a visual aid that helps point out or emphasize certain elements. Think of them as digital sticky notes you can place anywhere on an image.
Annotations help provide feedback by allowing collaborators to quickly show and explain what they want. For example, a client could use annotation to indicate the under-eye bags that they find unflattering. Or, a collaborator could point out a specific feature in a photo that they think is the selling point.
When to Use Image Annotations?
Annotation tools come in handy when you want to:
show specific changes to an image that can’t be accomplished with words.
highlight what you think is working on an image.
visually communicate ideas for retouching.
emphasize specific features of your subject, such as fur or eyes.
draw attention to one element over another.
remark on the design and general look-and-feel of an image.
Best Annotation Tools
Picflow offers many different image annotation tools that give you the freedom to highlight parts of the image you wish to draw the user's attention to, allowing you to effectively communicate a message or idea in a more compelling way. Here are a few examples of using annotations in Picflow to highlight different features:
1. Brush Tool
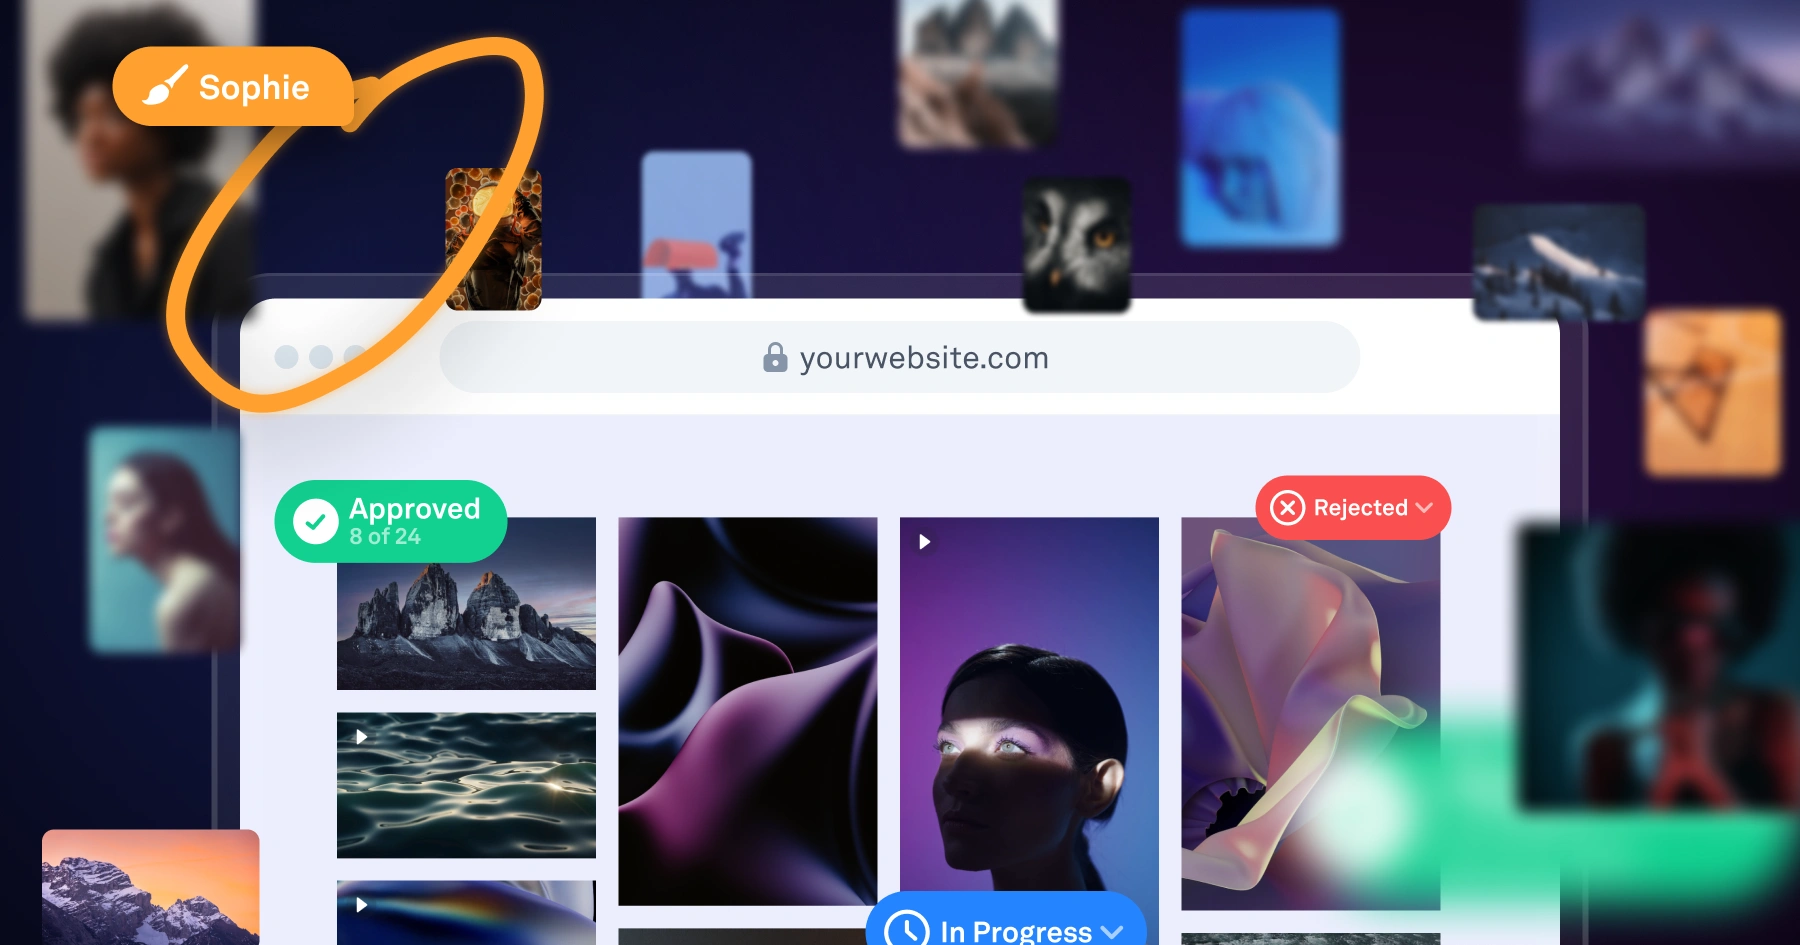
 Draws freehand annotations onto the image. Try the brush tool to draw attention to an area of your image that you want to critique or praise. To illustrate that you love something in a photo, simply use the brush tool to show what turned out great.
2. Arrow Tool
![]() Adds an arrow annotation that points to the direction you want. Don't like how something is positioned? An arrow lets you point out exactly where you want something to be moved to. For example, if you have an object you want to be placed elsewhere, an arrow makes it simple to point out where you want it to go.
Adds an arrow annotation that points to the direction you want. Don't like how something is positioned? An arrow lets you point out exactly where you want something to be moved to. For example, if you have an object you want to be placed elsewhere, an arrow makes it simple to point out where you want it to go.
3. Line Tool
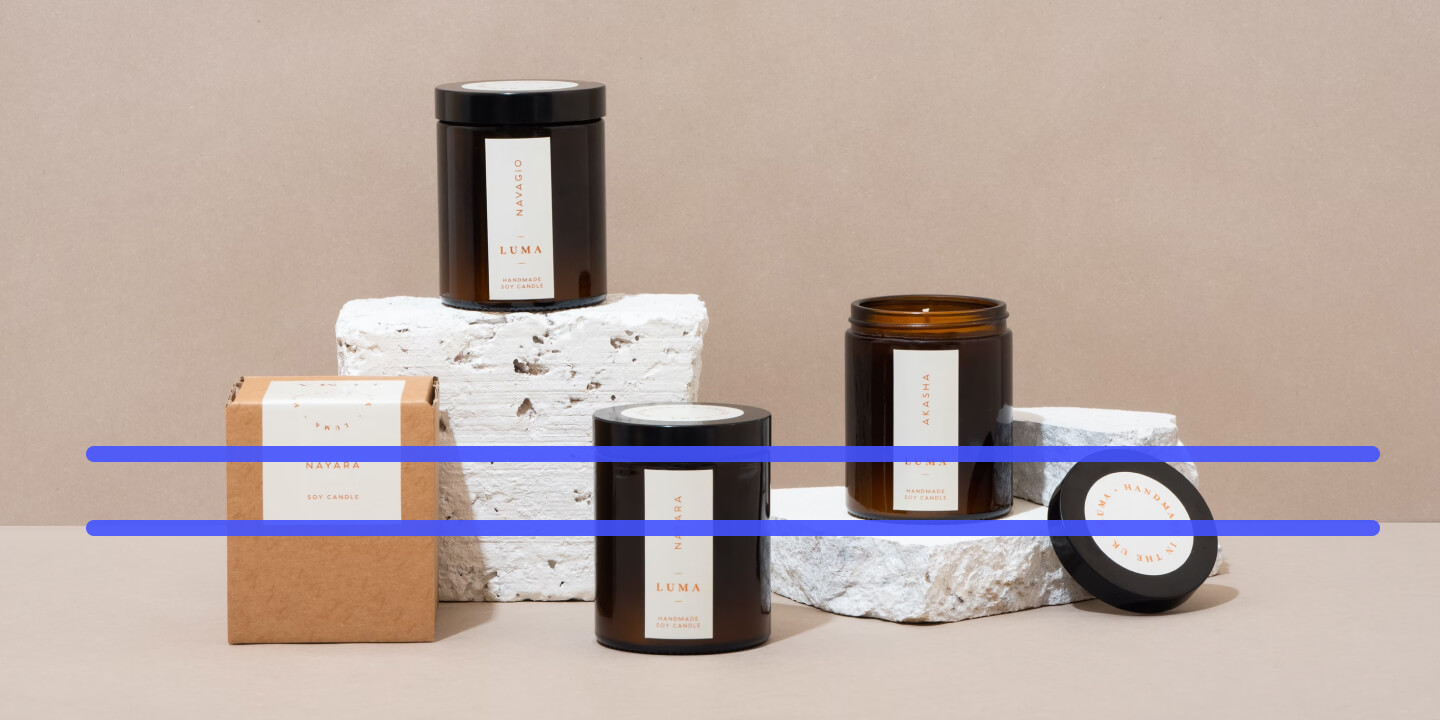 Draws a straight line from one point to another. Use a straight-line annotation to communicate an important border or edge that you want the user to notice. Let’s say you want to show that this image could be cropped differently. Use a straight-line annotation to mark the border for cropping.
4. Circle Tool
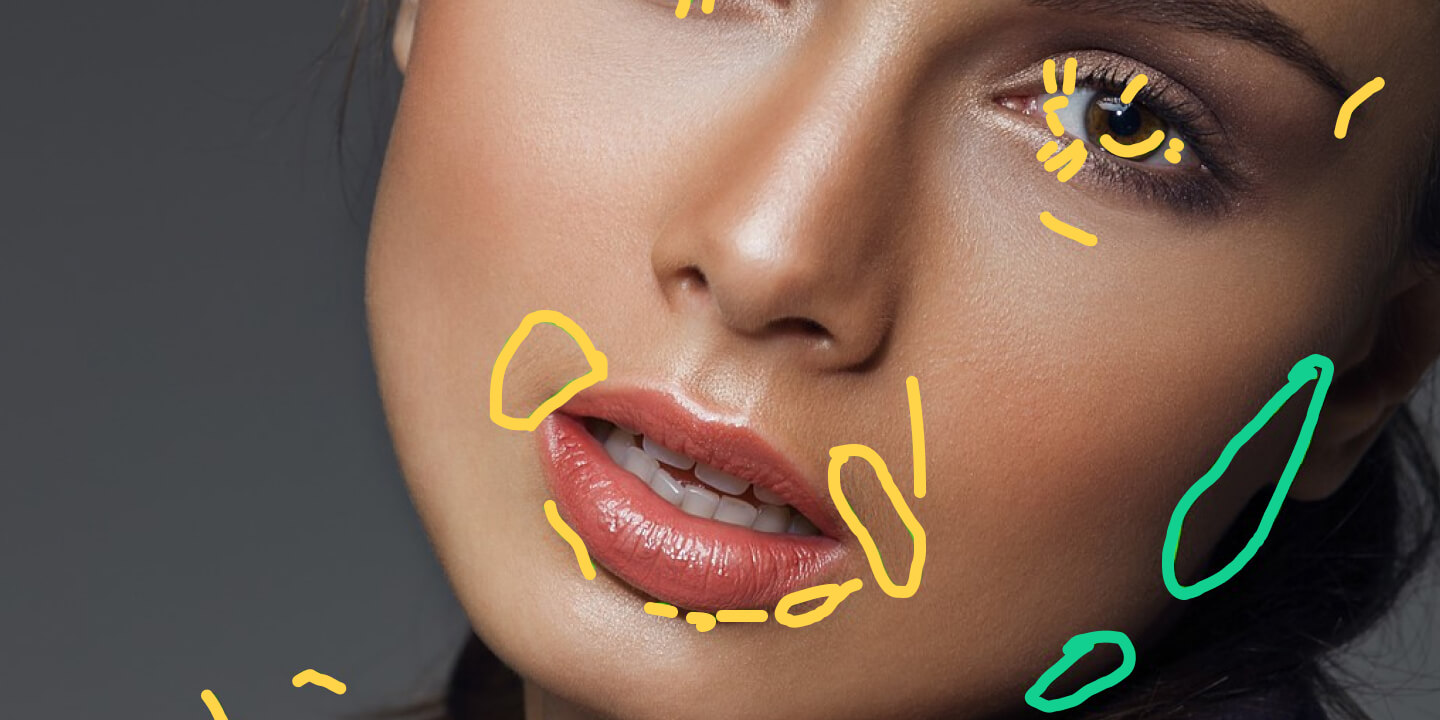
 Draws a circle to highlight an area of the image. Use a circle annotation to show an area needing retouching. Have a problem with the lighting? A circle around bad lighting shows the user where to brighten the image.
Annotation Colors
By now, it should be clear why Annotations are so useful and how Picflow makes it easy for you to annotate on images. However, you can go one step further and use different colors. I’d even say that you really should use different colors to create annotations that are as useful as possible.
The most important thing is to make clear what each color means. Don’t circle in blue the texture issues in one session, and then use blue for color problems in another one. You’ll end up lost. Define your standard, make it clear to the people you’re working with, and base your workflow on that.
How to Annotate an Image
Picflow’s built-in annotation feature lets you add markups directly onto an image. Here’s how to use the annotation tool:
Click the image you want to annotate.
To access the Annotation feature, click the Comment button. The paintbrush icon to the right of the text box opens the annotations tools. You can also more quickly access the tools by pressing the shortcut “D” on the keyboard.
Choose your annotation tool to start drawing
When you are finished, hit “Send” to save the annotation and notify collaborators.
The annotation saves in the chatbox. Simply click to view or hide it.
To remove an annotation, click on the “More Options” icon (three vertical dots) on the annotation in the chatbox and press “Delete”.
Ready to Visualize Your Ideas?
Picflow’s annotation tool helps collaborate and get your point across—no more lengthy explanations! It’s easy to get the hang of it. So, go ahead and annotate your images with Picflow.